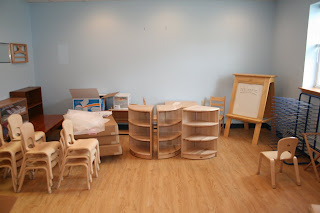
I spent the last few years slowly adding to the Math and Language areas of the classroom, to be sure I had a logical sequence to these activities. Now it is finally time for me to work on Practical Life. I'll soon be placing an order with Montessori Services, my favorite online spot for Practical Life goodies. I'm filling in some of my curriculum gaps with the following activities:
I'm very fortunate to have a friend of a friend who is making my cloth washing and dish washing stands. Otherwise, the price for these materials just get way out of hand.
I have already incorporated silver and shoe polishing into the curriculum, and they are certainly class favorites. I'm excited to show wood polishing to some of my returning students. They will truly enjoy transforming a dull wooden figure into a piece of art with a brilliant sheen. My youngest daughter will most definitely have some well-polished wooden animals in her Noah's Ark!
If you wish to incorporate wood polishing into your home activities, here's what you need (remember, try to color coordinate whenever possible):
- a basket or tray with high sides
- an apron
- non-toxic wood polish
- a sponge
- a small glass bowl
- a waterproof mat
- wood polishing cloths (you can order just the cloths here)
- cotton swabs
- wooden object in need of a good polish
You can find directions on presenting this activity to your child in this online Montessori album: Wood Polishing. Be sure you have everything you need first, before presenting this work to a child. Present activities slowly and deliberately, using the least amount of words possible. As I've metioned before, if your child is enrolled in a Montessori school, check with the teacher to be sure your child is ready for this work at home. This activity is suitable for a child who is 4-6 years old. Be sure to rotate wooden objects often to maintain interest. When your child eventually masters this activity, move on to wooden shelves and eventually pieces of furniture!


